


Running a Lync for Mac Meeting
Contacts & Initiating a Meeting on Mac
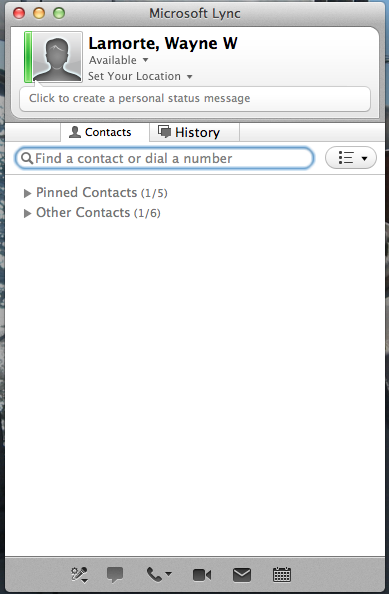
Lync for Mac is much more limited in its capabilities compared to SfB/Lync on a PC, but still can be an effective teaching/meeting tool. When you open Lync for Mac, you should briefly see the blue sign in window at the bottom of the previous module page, and then it should automatically open the contacts window shown below.
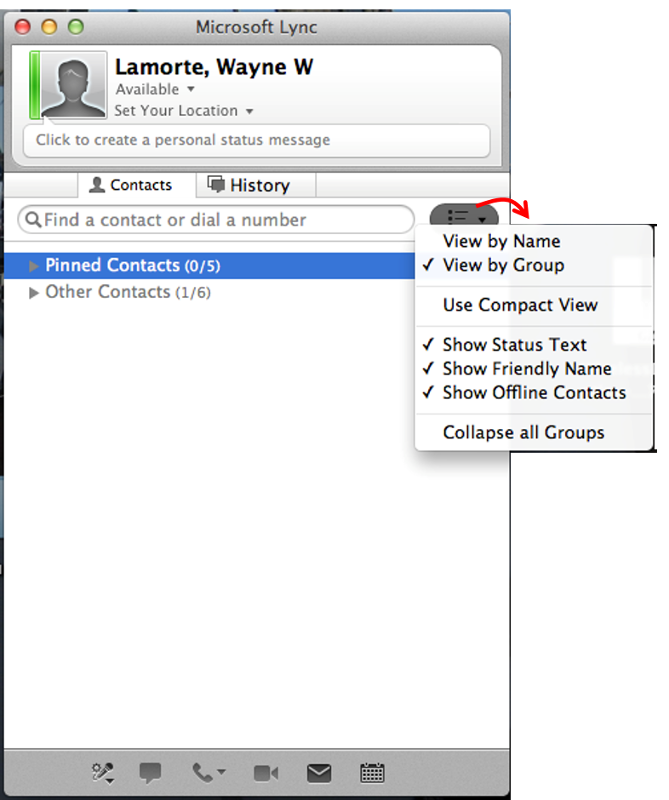
"Pinned Contacts" refers to "Favorites". If you click the chevron to the right of the search box, you will be presented with the options shown below.
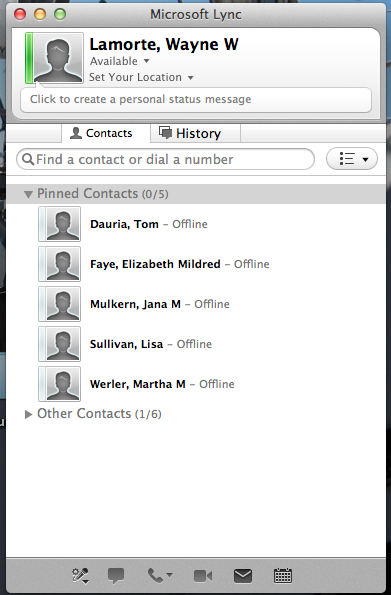
If I expand the "Pinned Contacts" line, I would see the following entries.
The bottom of this window also present some options, show below.
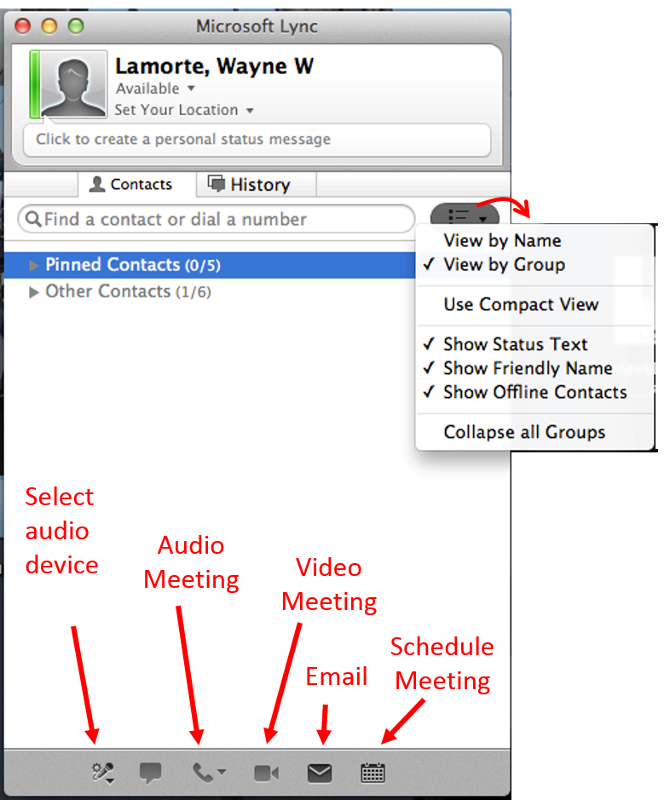
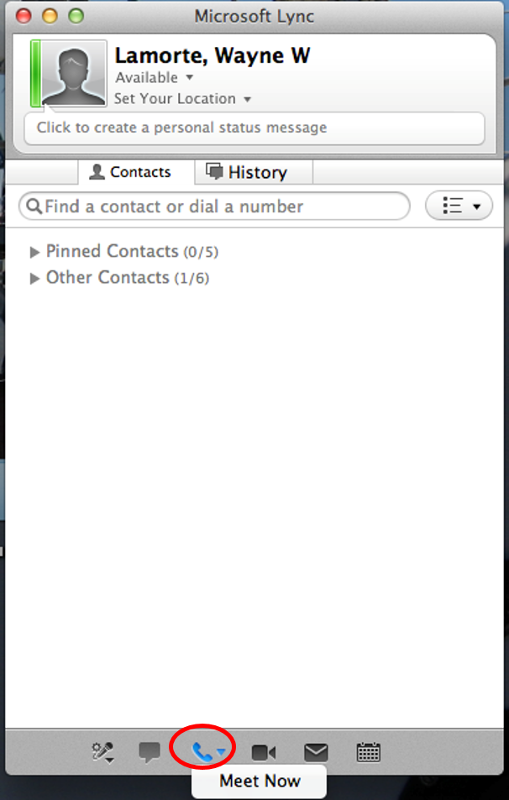
You can initiate an audio only meeting as shown below by clicking on the phone icon and selecting "Meet Now." Alternatively, you could select the video camera icon to initiate a meeting with both your audio device (microphone) and video (your web cam).
The Meeting Screen on Mac
After opening an audio meeting, you would see the window below. There is only one participant in this meeting, but if there were more, they would be listed beneath the meeting host. There is an option to toggle the participant list on and off. Beneath the participant list is the message area, which shows a running list of all messages sent by participants. At the bottom is another box in which you can compose text messages; when you press the "Enter" key, your message will be displayed in the message area.

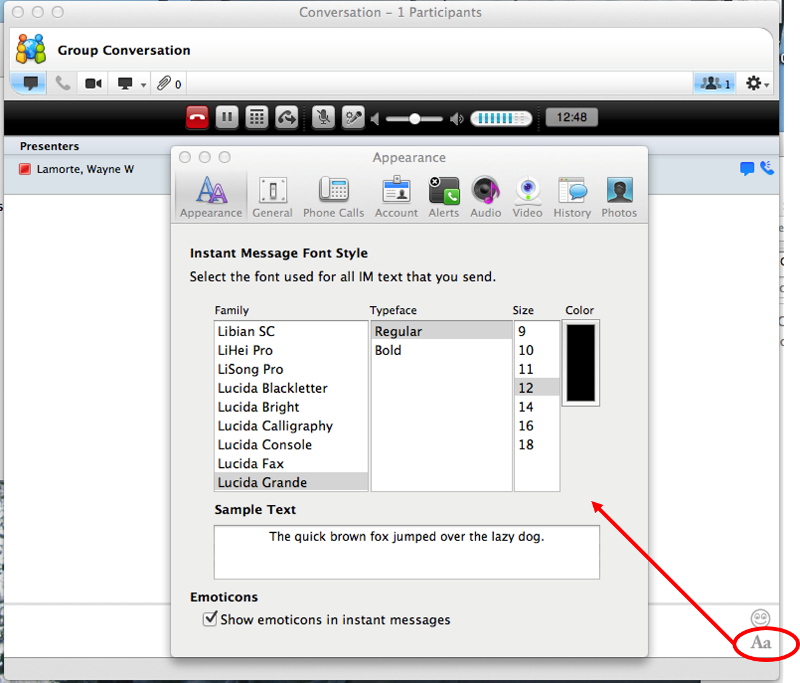
In the lower right corner of the meeting window there is an "Aa" icon that will open a window that gives a number of "Appearance" options for text.
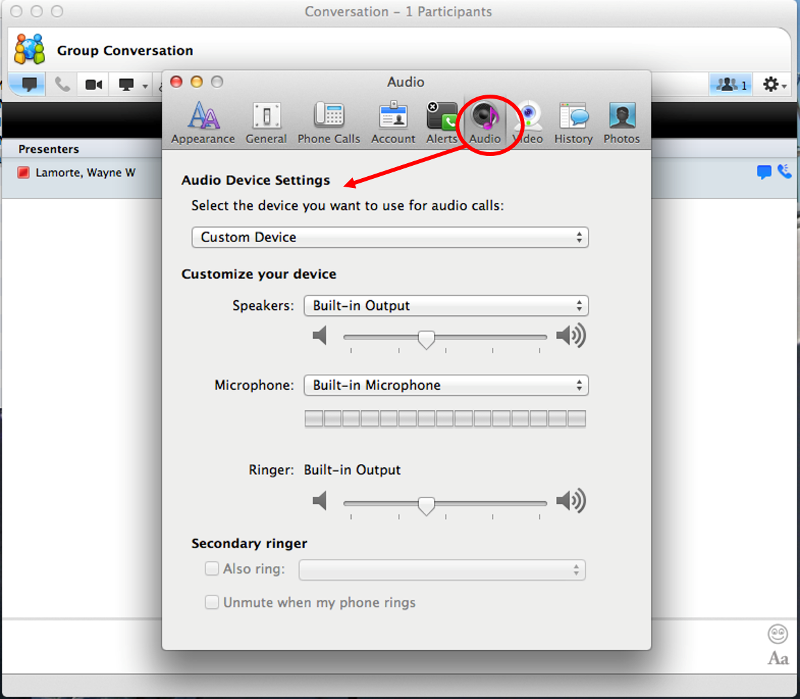
If you select the "Audio" option from the Appearance window, it will open the Audio Device Settings Window shown below. From this window you can test and adjust the volume of the microphone you are using.
Presentation Options on Mac
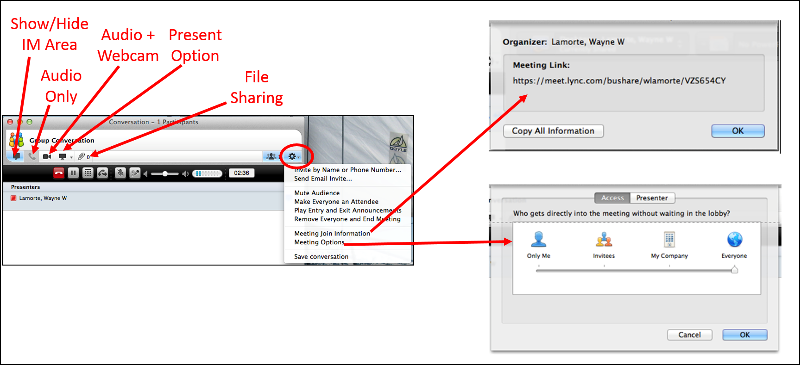
The image below illustrates a number of control options in the meeting window. At the upper right there is a "Participants" icon, which allows you to show or hide the participant list, and to the right of that is the gear icon which opens a window with additional options as shown. Note that this provides a means of getting the meeting URL address, and it also allows you to control admission to the meeting. In general, it is best to use the default option, which is to allow invited participants into the meeting immediately.
In the upper left corner there are several icons. On the far left is an icon that enables you to show or hide the instant messaging area (IM). To the right of that are the phone and video icons that enable you to toggle back and forth between audio only (no web cam) and audio plus web cam. The next icon to the right is the monitor icon that will enable you to present visual material by sharing your screen. Finally, there is a "file sharing" icon that enables you to attach files that participants are able to download.
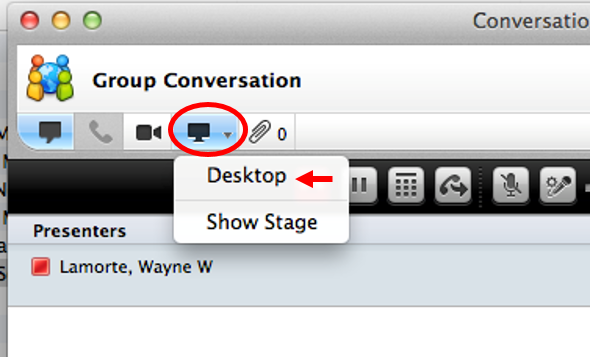
If you click on the monitor icon, you are presented with only two options: share your desktop and "Show Stage." If you are presenting, select "Desktop." If someone else is sharing their desktop, select "Show Stage."
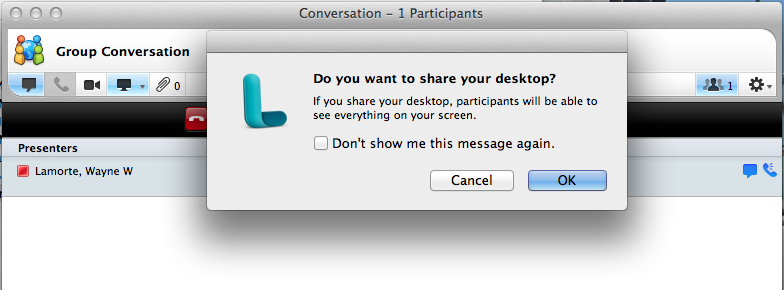
If you elect to share your desktop, you will receive this warning.
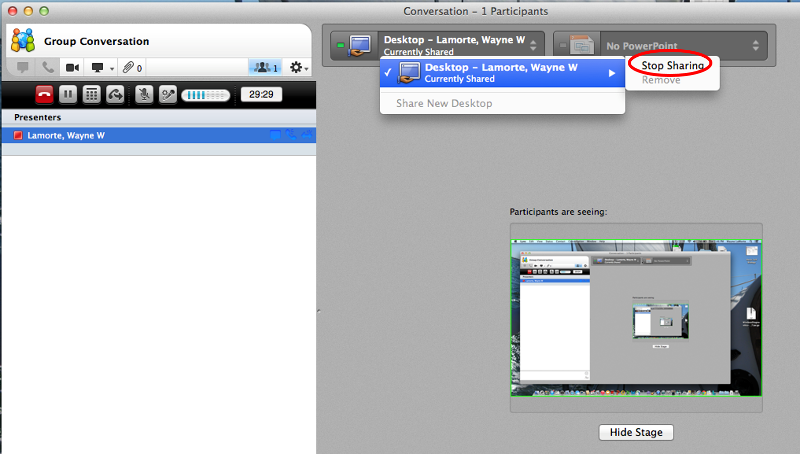
When you want to stop sharing, click on the "Desktop" window and then on "Stop Sharing."
To exit the meeting you can close the Lync window or click on the red phone icon at the upper left.